Getting started with Calendario
Install the extension, connect your first calendar and learn your way around the popup — your whole day, one click from any tab.
Part 1 of 12The Calendario GuideShow all partsHide
- 1Getting started with Calendario
- 2Connect Google, Outlook and Zoom — and more than one of each
- 3Read your day on the timeline
- 4Tune the timeline: zoom, working hours, buffers and more
- 5Drag to create, move, resize and copy events
- 6Event details, RSVPs and quick actions
- 7Create events without leaving the page
- 8Find anything with ⌘K search
- 9Jump to any date and see holidays
- 10Reminders that reach you, and a badge that tells you what's next
- 11Popup, side panel or floating launcher
- 12Make it yours: themes, colors, languages and time format
Calendario is a Chrome extension that puts Google Calendar, Outlook / Microsoft 365 and Zoom in one small popup. You can check what's next, join a call, answer an invite or book time without opening another tab or switching calendar apps.
This guide covers every feature, one post at a time. This first part gets you set up and shows you around.
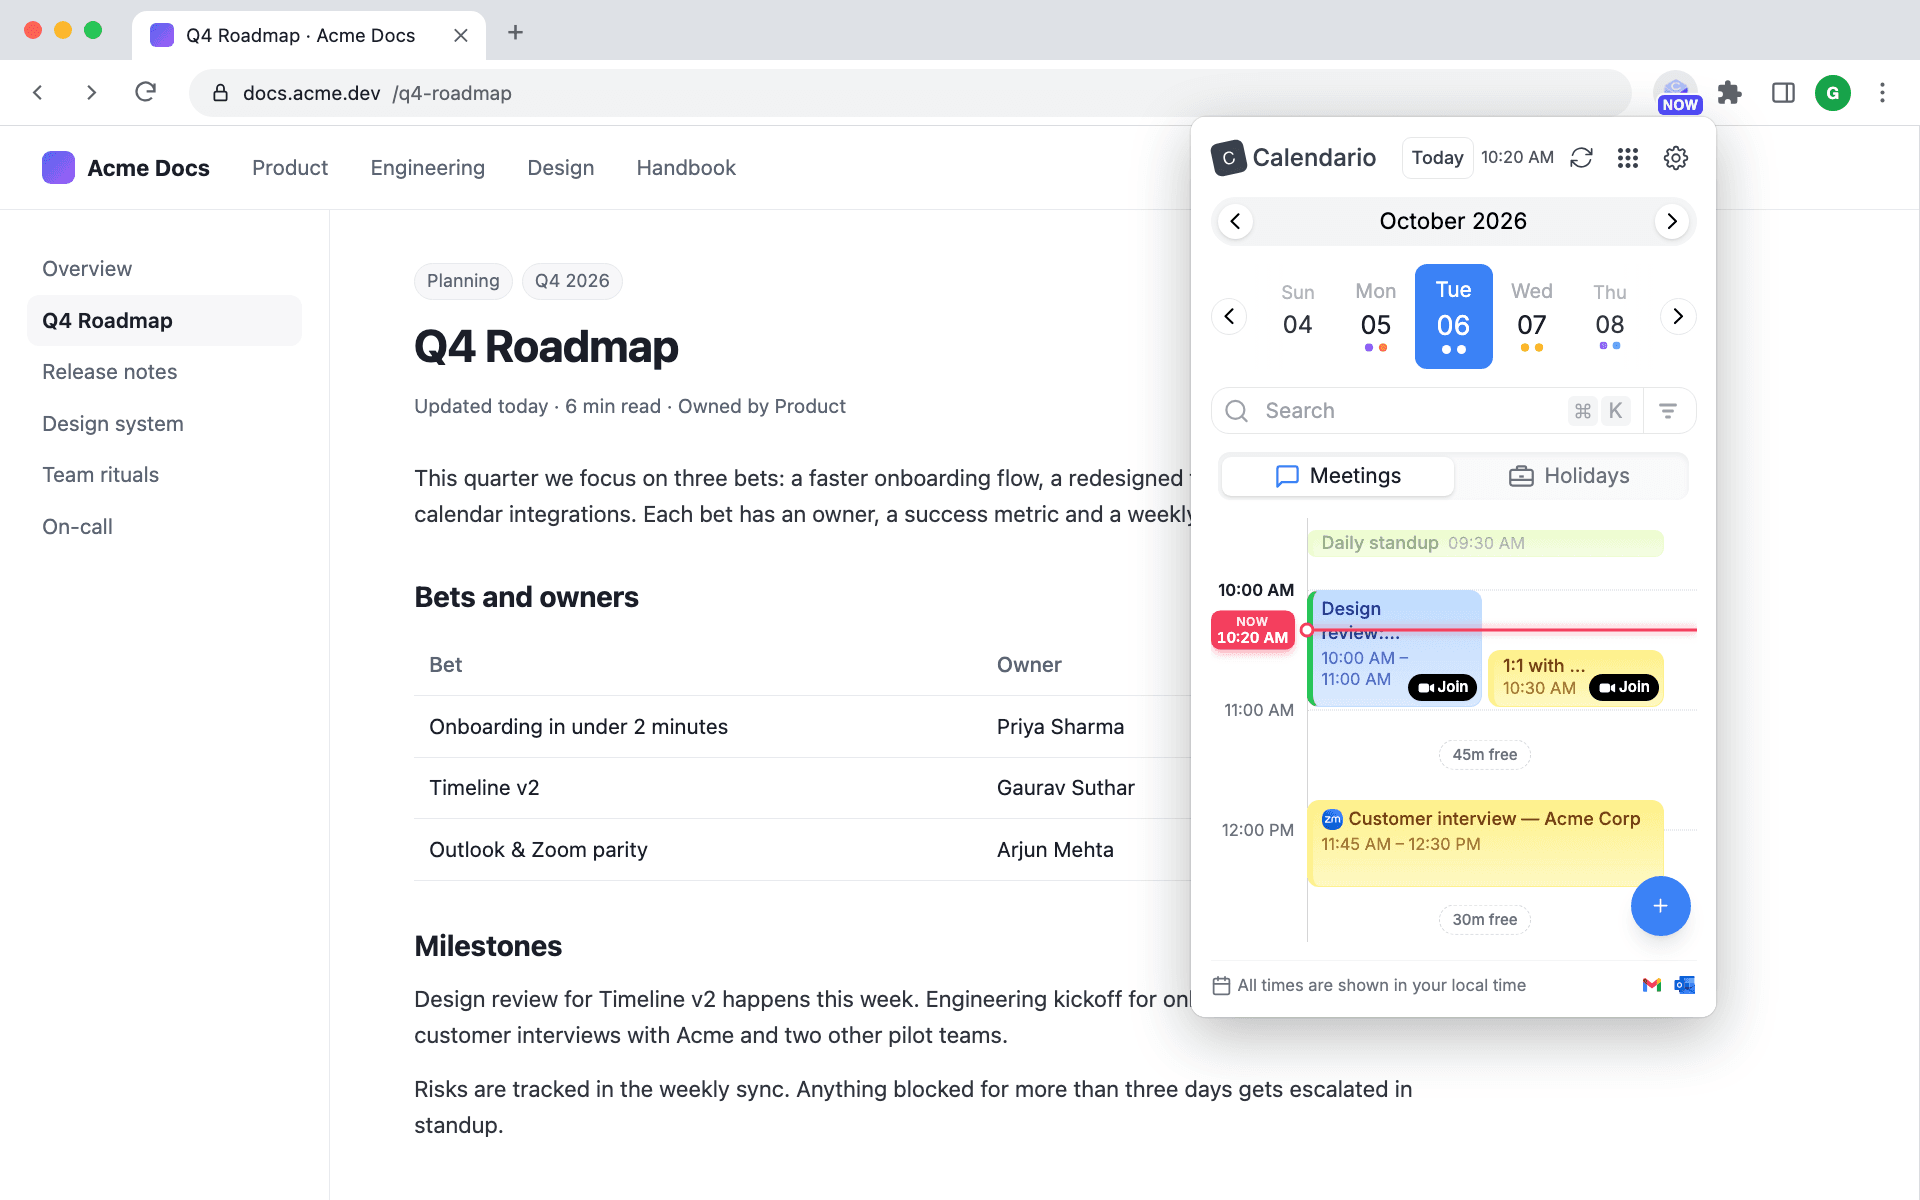
Install the extension#
- 1
Add Calendario to Chrome
Open Calendario on the Chrome Web Store and click Add to Chrome.
- 2
Pin it to the toolbar
Click the puzzle-piece icon next to the address bar and pin Calendario. The icon then shows your next meeting's start time, so you can check it at a glance (more on that in part 10).
- 3
Click the icon to open it
The first time, Calendario asks which calendar you want to connect.
Connect your first calendar#
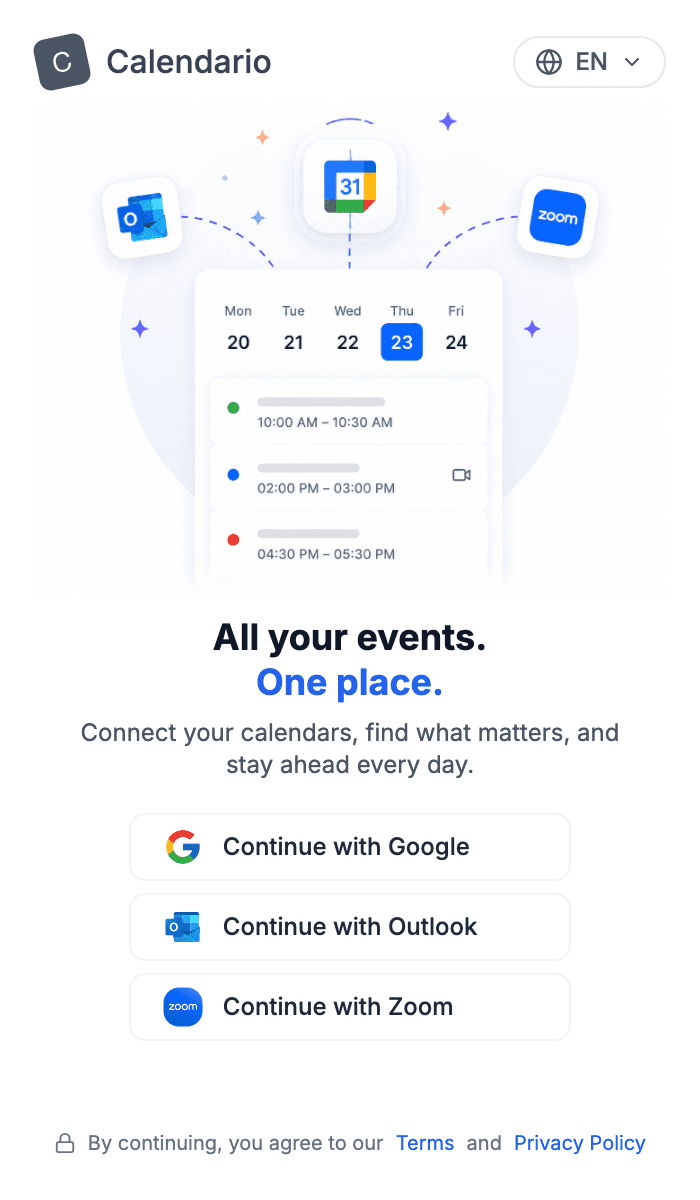
The welcome screen offers one button per provider. Pick the account that holds most of your meetings; you can add the others later from Settings.
- 1
Choose a provider
Click Continue with Google, Continue with Outlook or Continue with Zoom.
- 2
Approve access in the provider's own window
Google, Microsoft or Zoom asks you to allow calendar access. Calendario only reads and updates the calendars of accounts you connect.
- 3
Your day appears
Events from every calendar of that account load straight into today's timeline.
A tour of the popup#
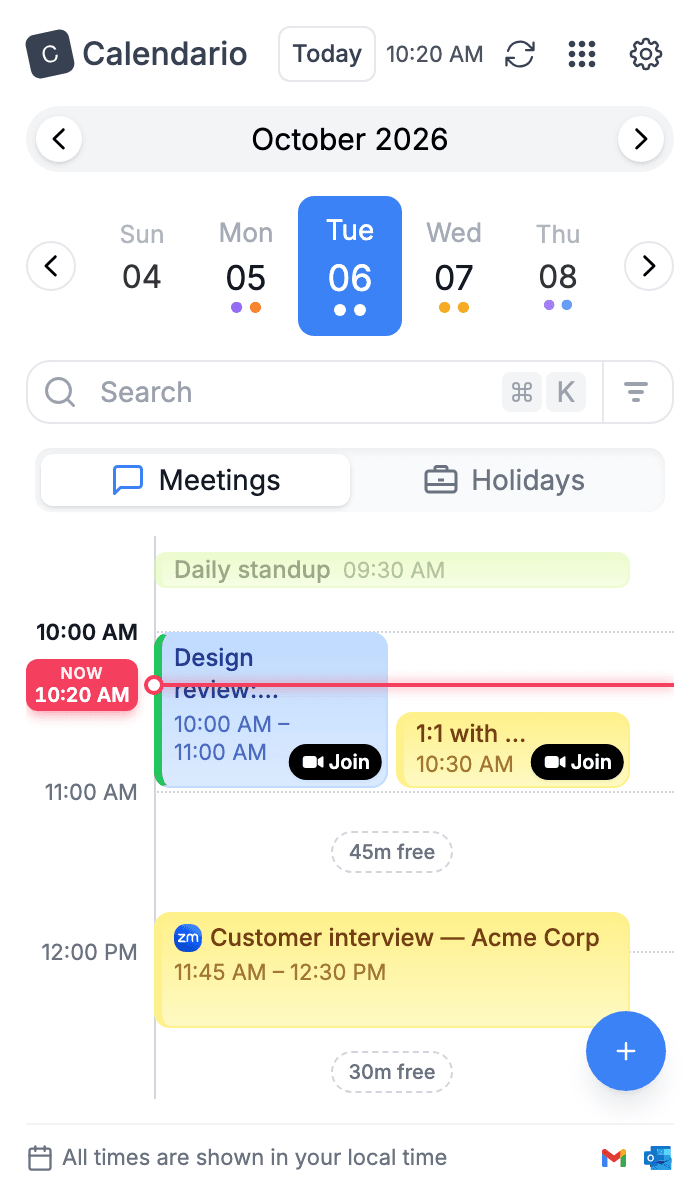
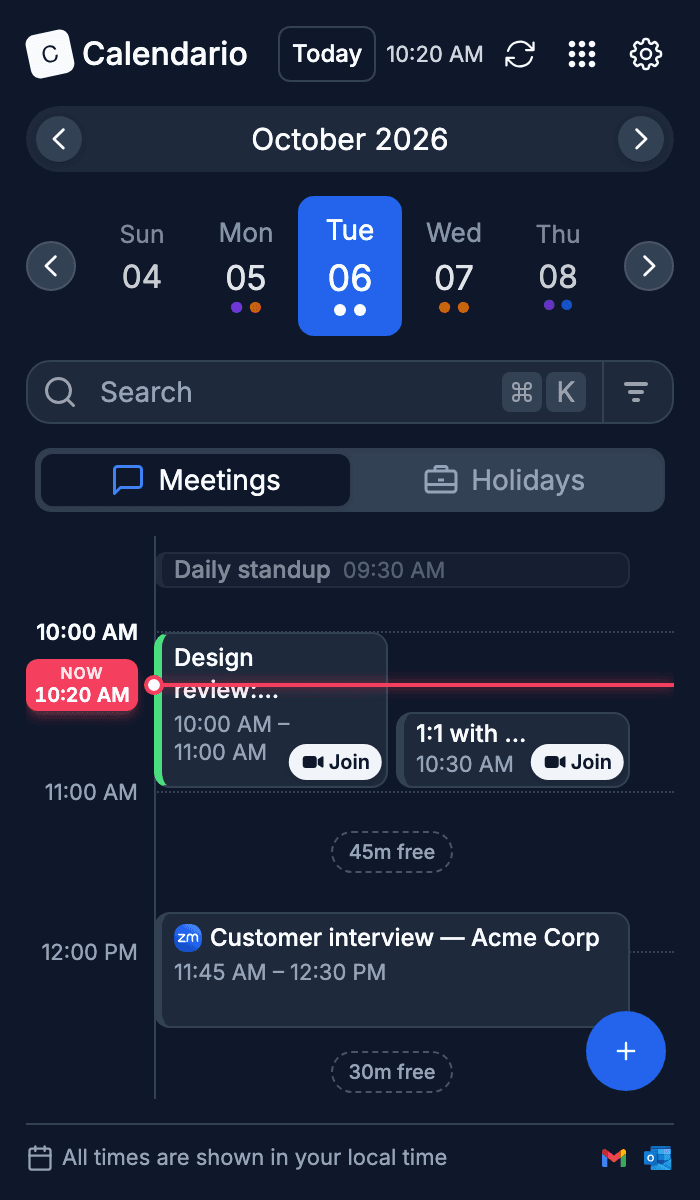
Everything lives on one screen. From top to bottom:
Light
Dark
- Header: Today jumps back to the current day, next to an optional live clock. Then come Sync, the month picker (the grid icon) and Settings (the gear).
- Month bar and day strip: step through months and days. Colored dots under a day show which calendars have events then.
- Search: click it or press ⌘K (CtrlK on Windows) to search every connected calendar.
- Meetings / Holidays: switch between your events and public holidays.
- Timeline: your day laid out hour by hour, with a red Now line, Join buttons and free gaps between meetings.
- + button: create a new event.
Events from different providers sit side by side in one timeline. Each event carries its provider's icon (Google Meet, Outlook, Zoom), so you always know where it came from.
What's next#
Next, connect your other accounts, such as a work Outlook calendar next to a personal Google one, and choose which calendars you see.